

 Solution
  Technology
  Application





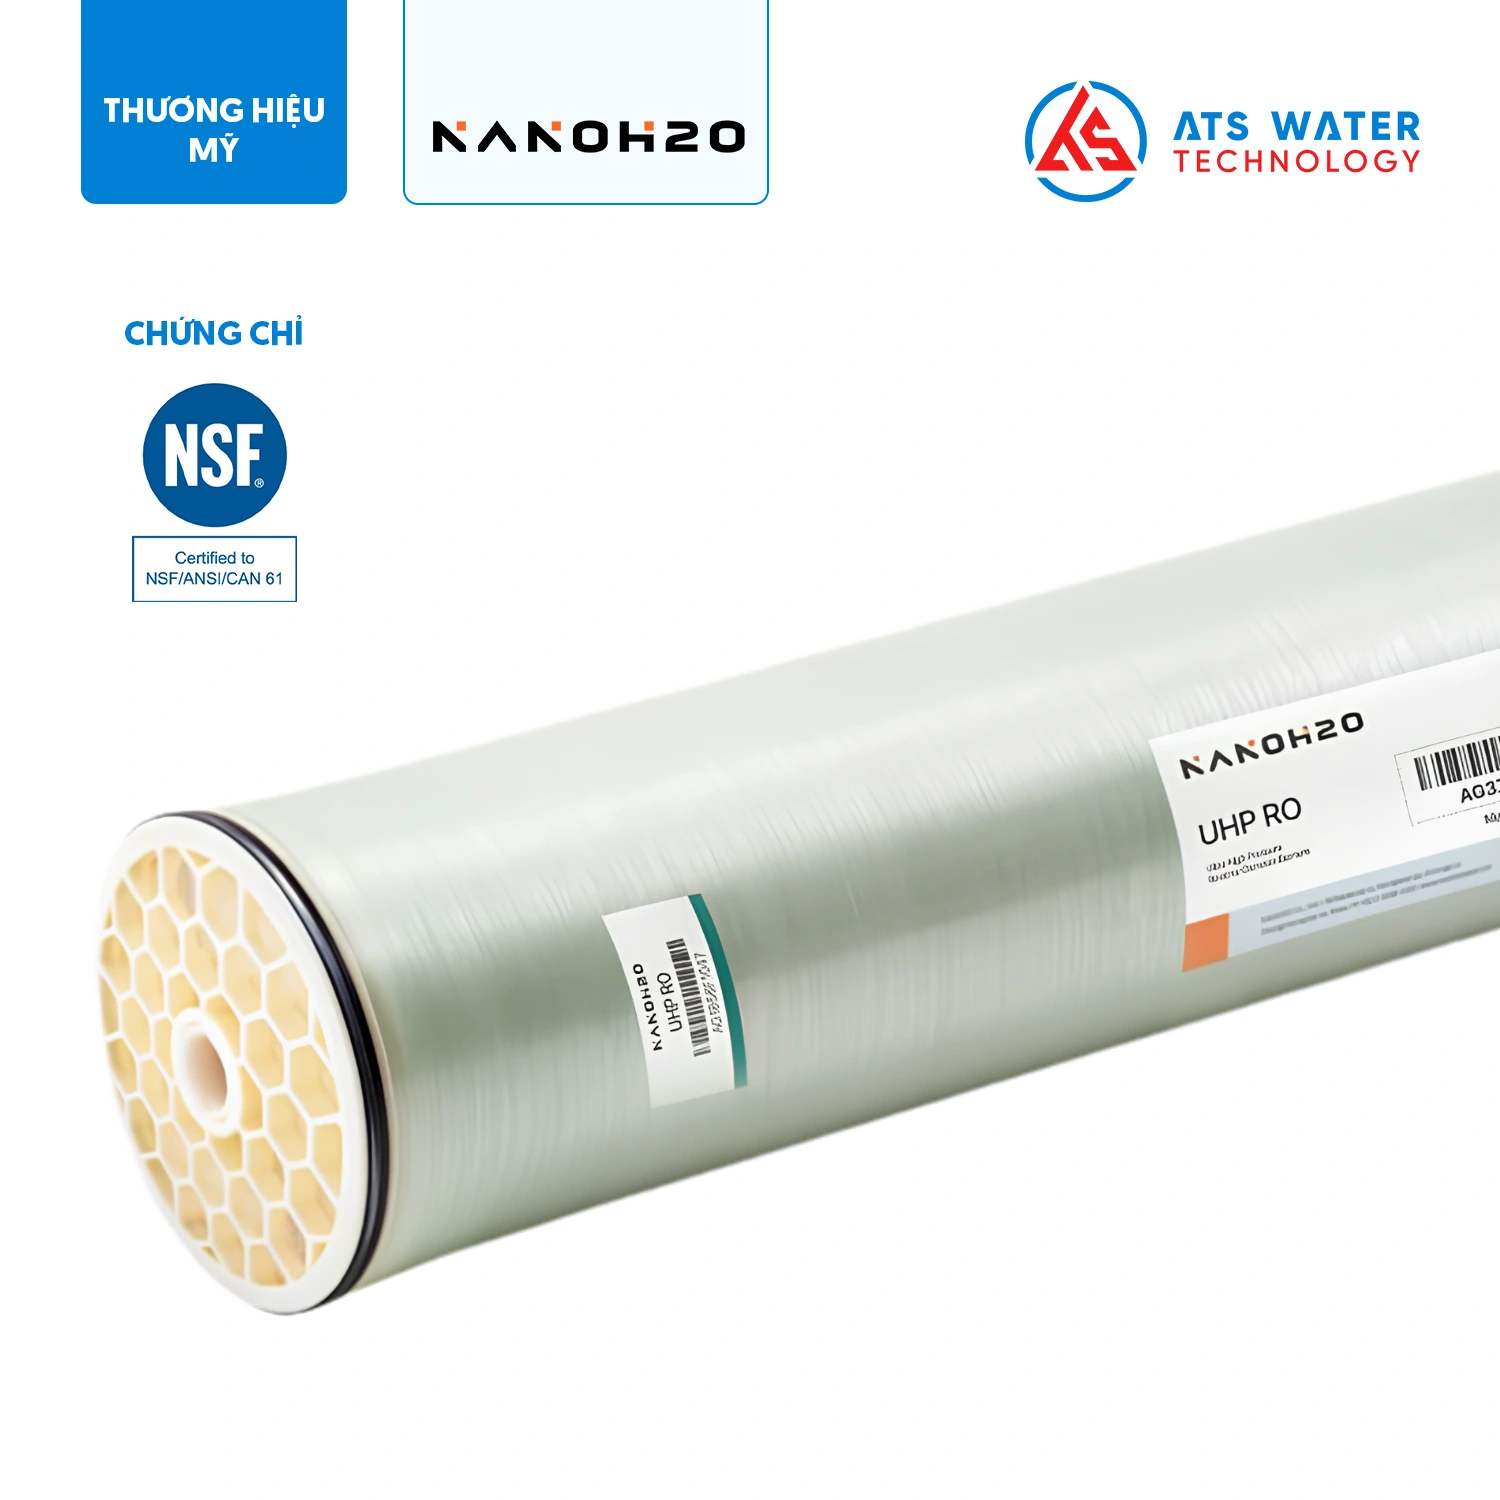
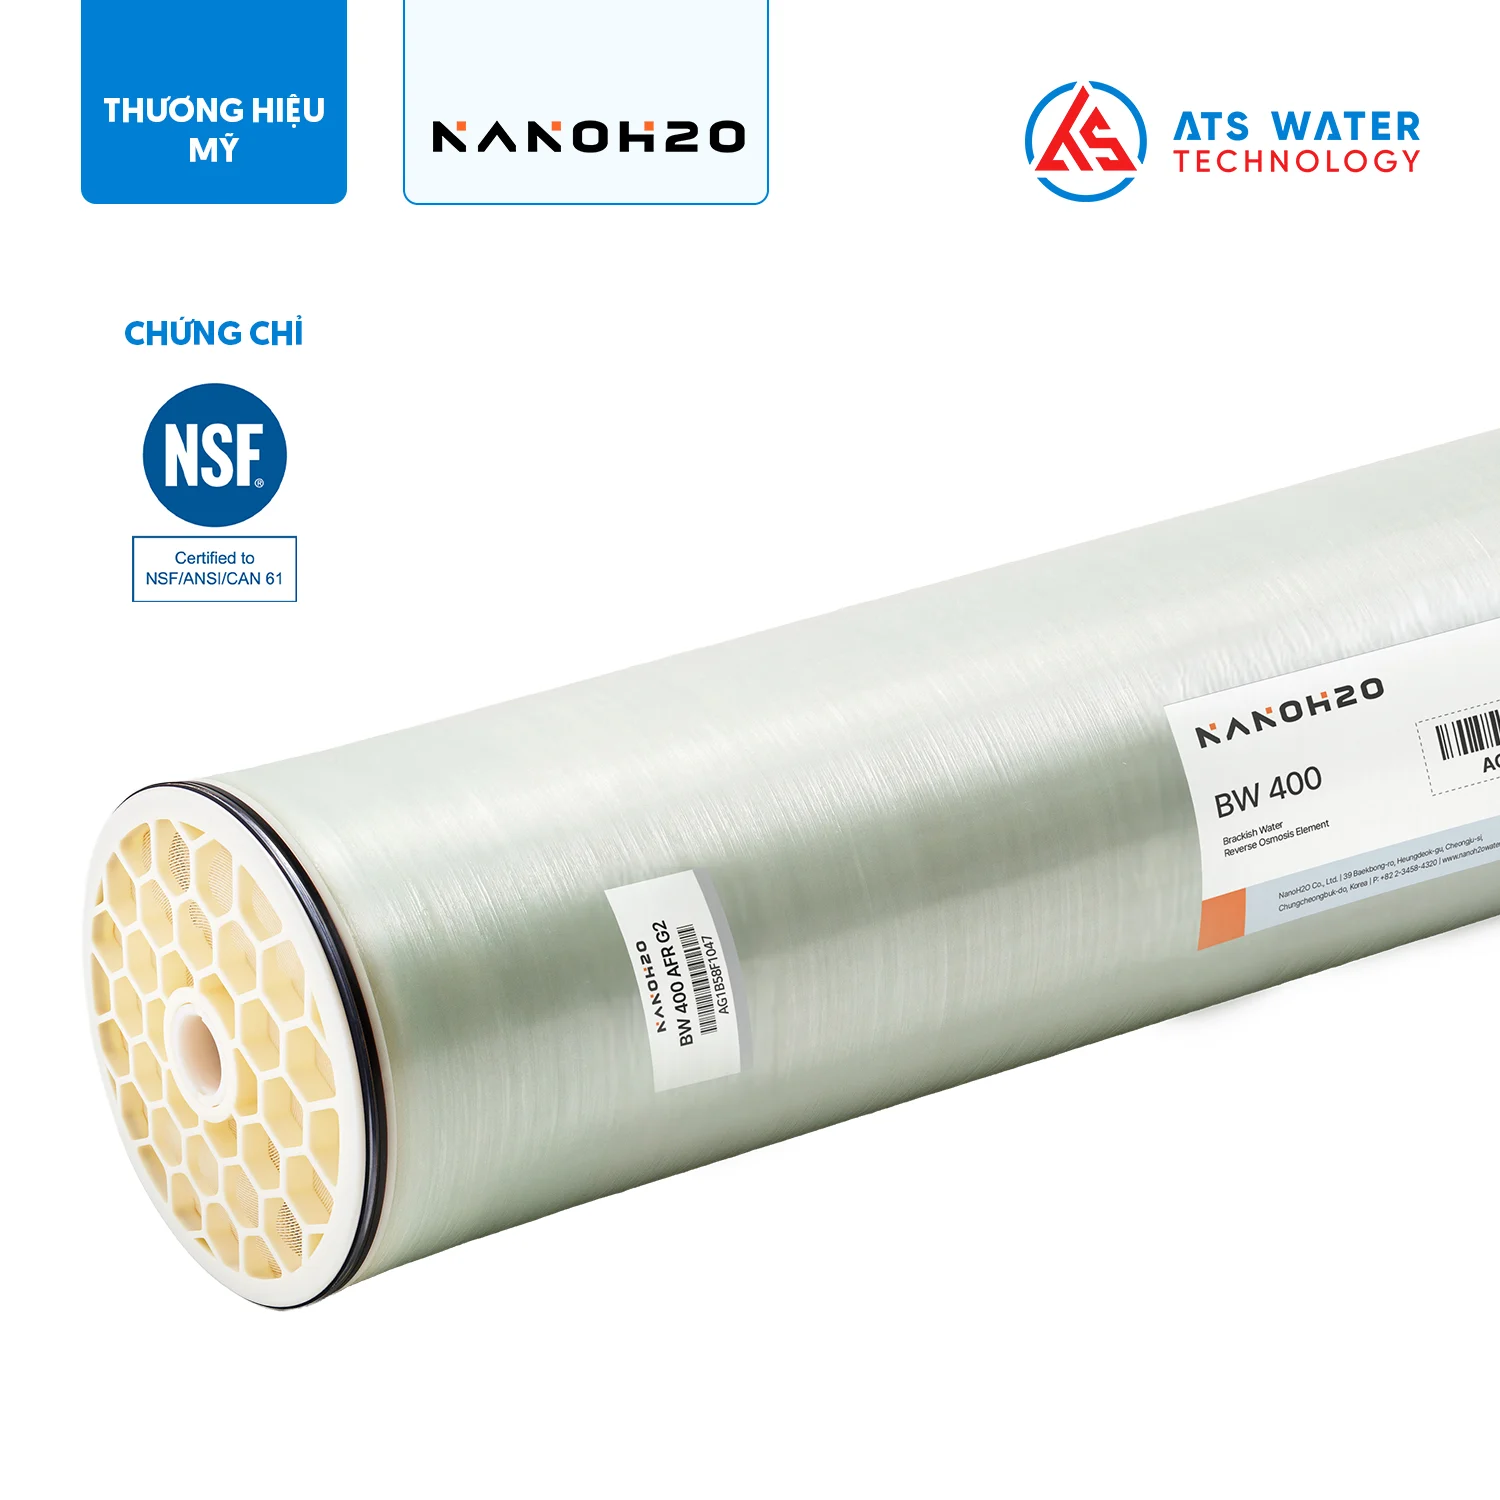
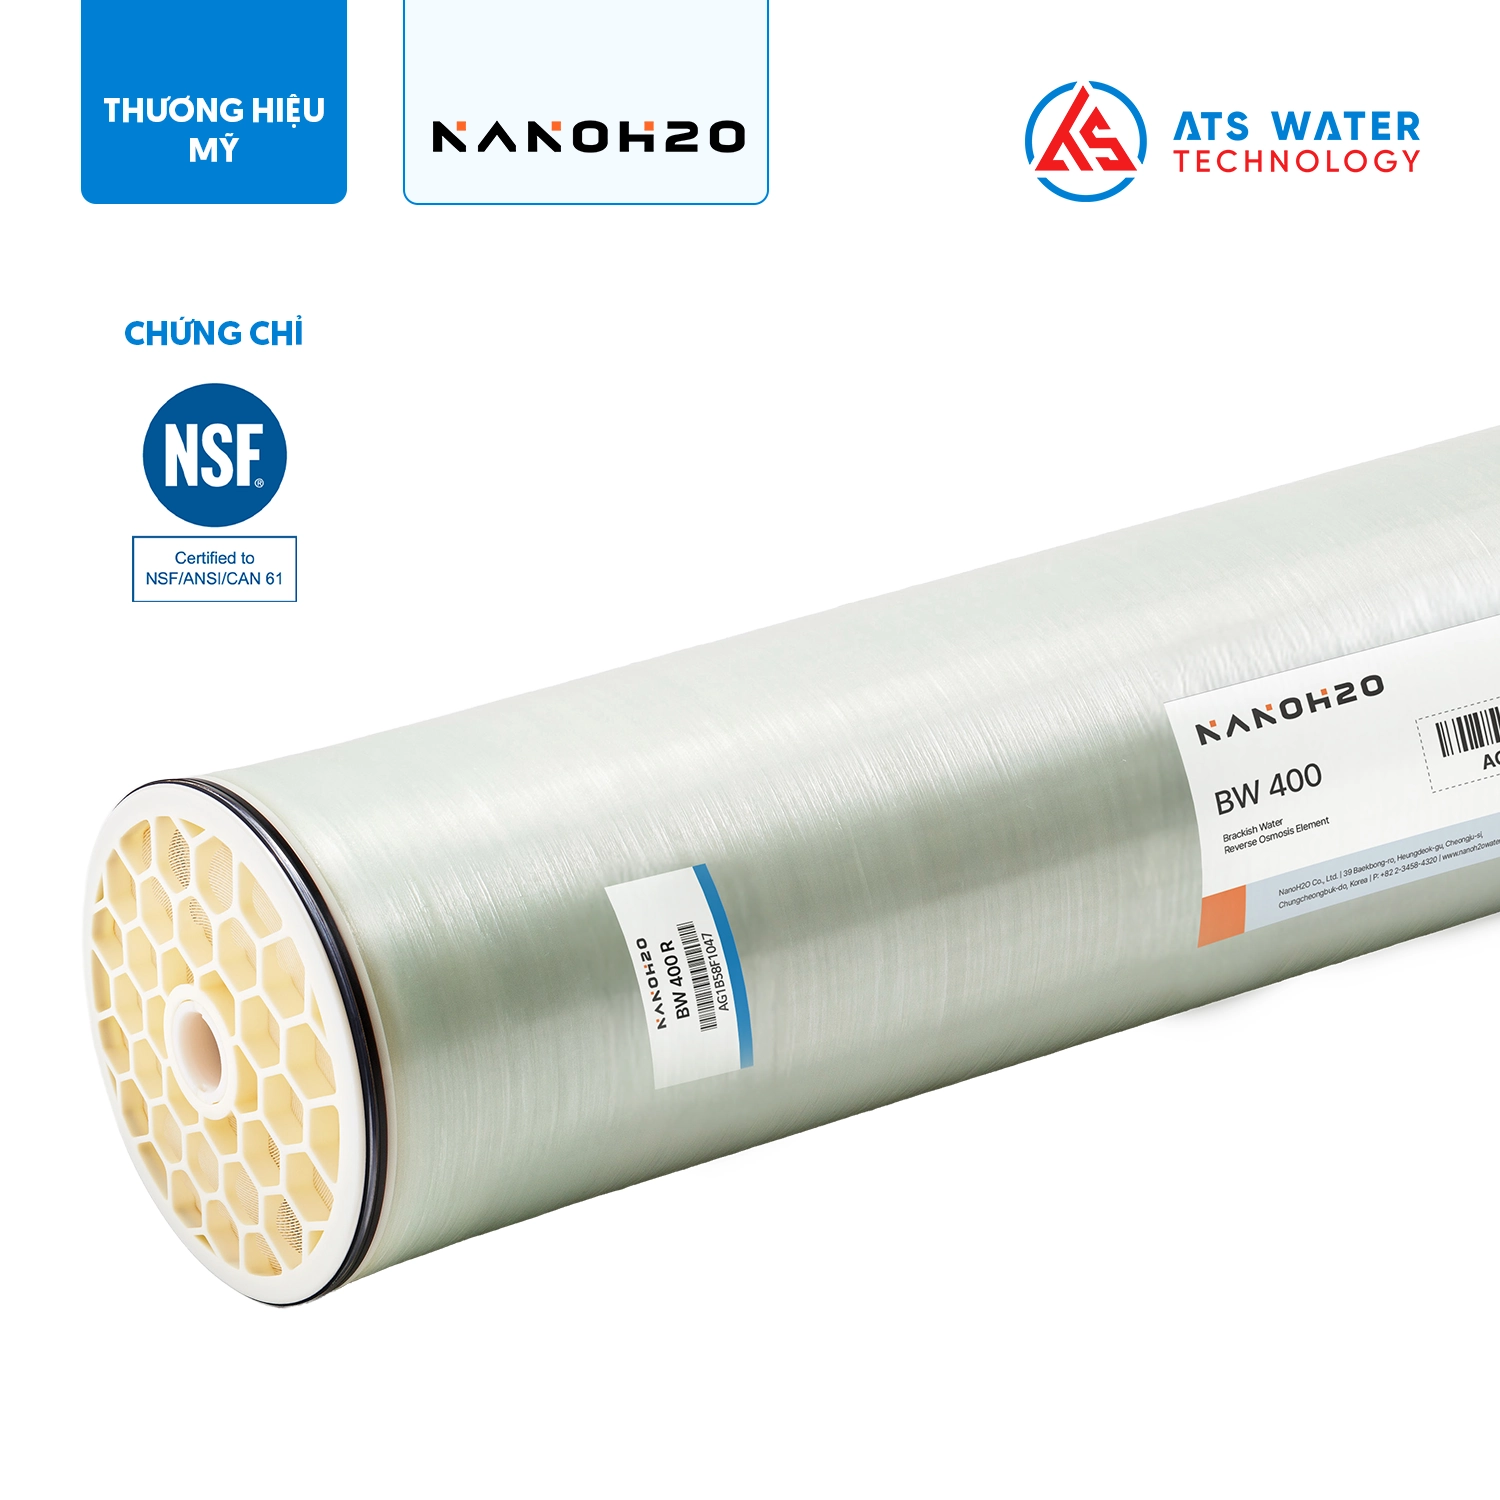
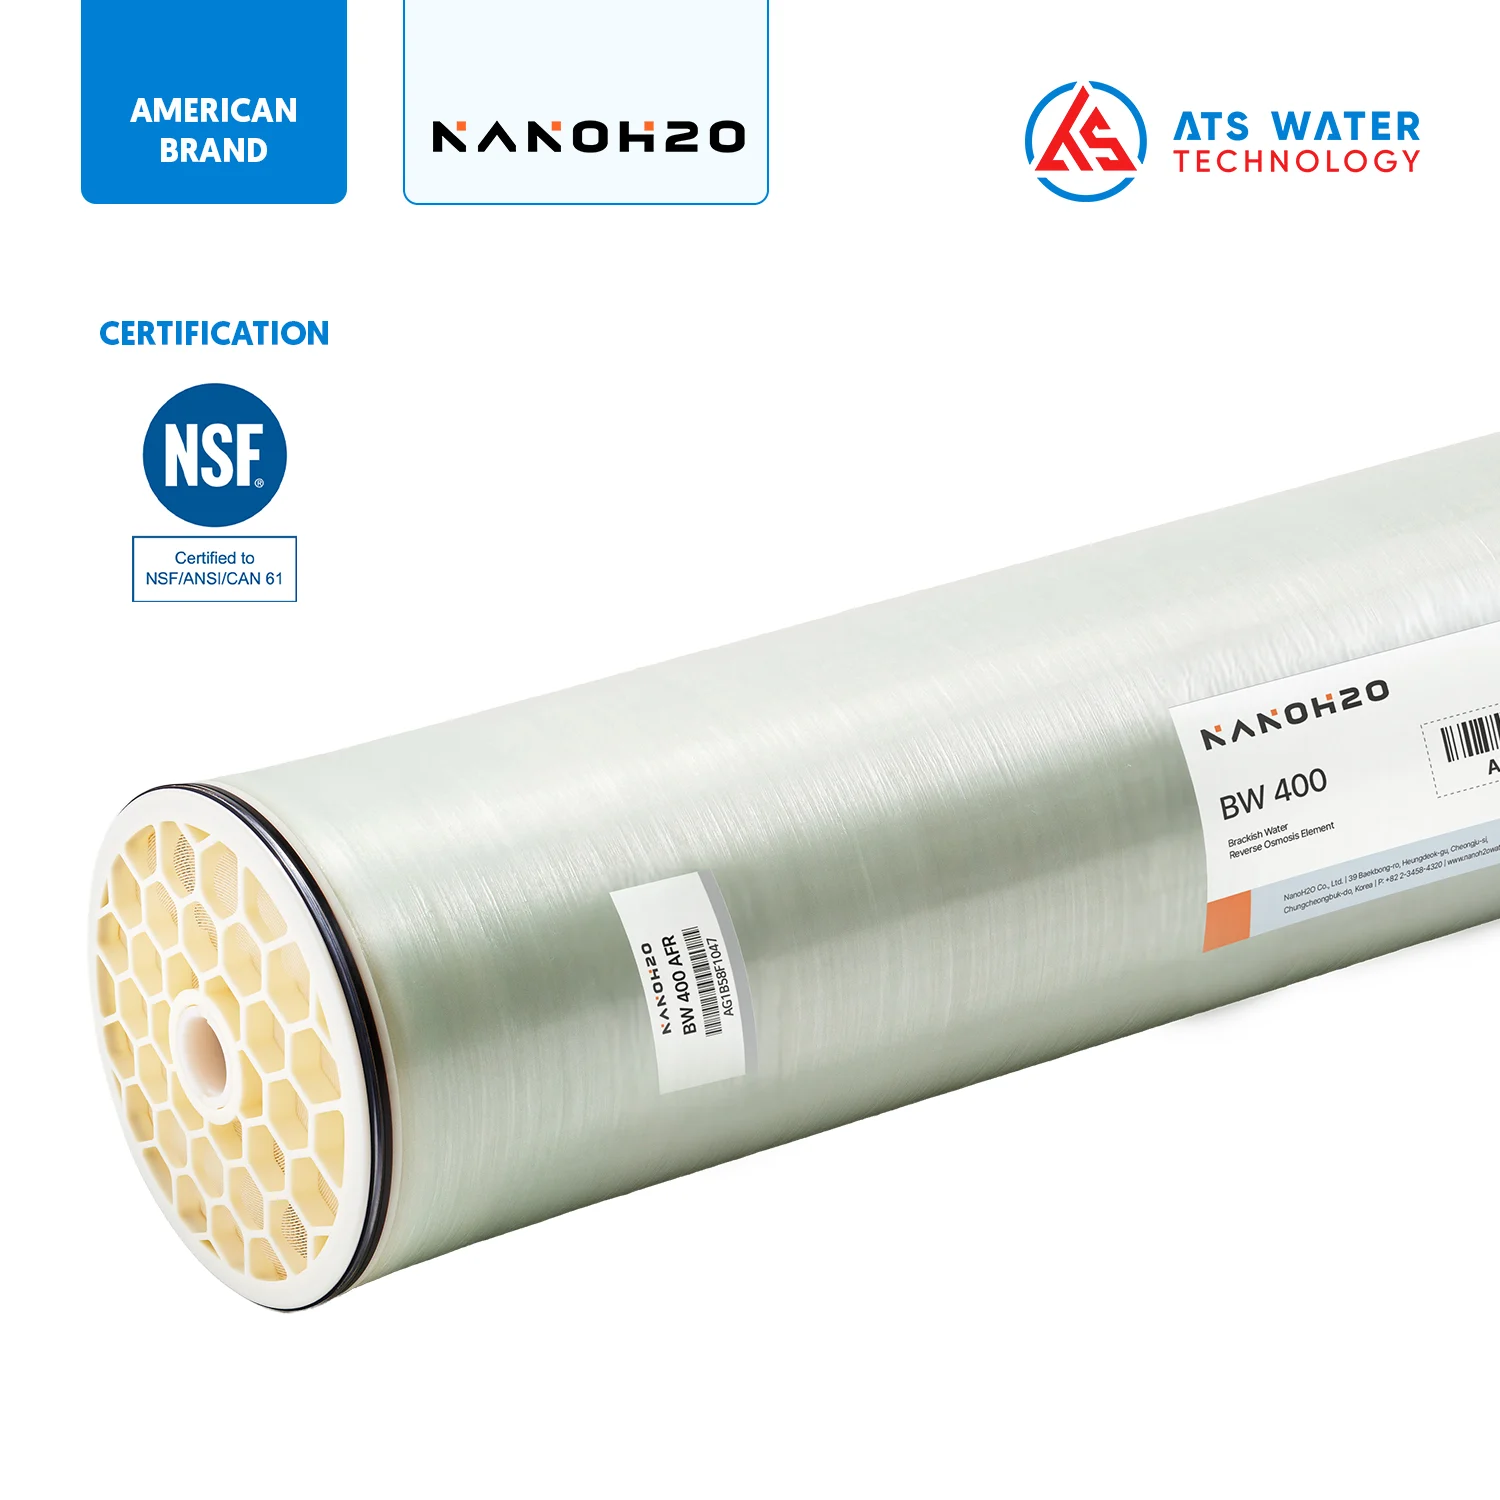
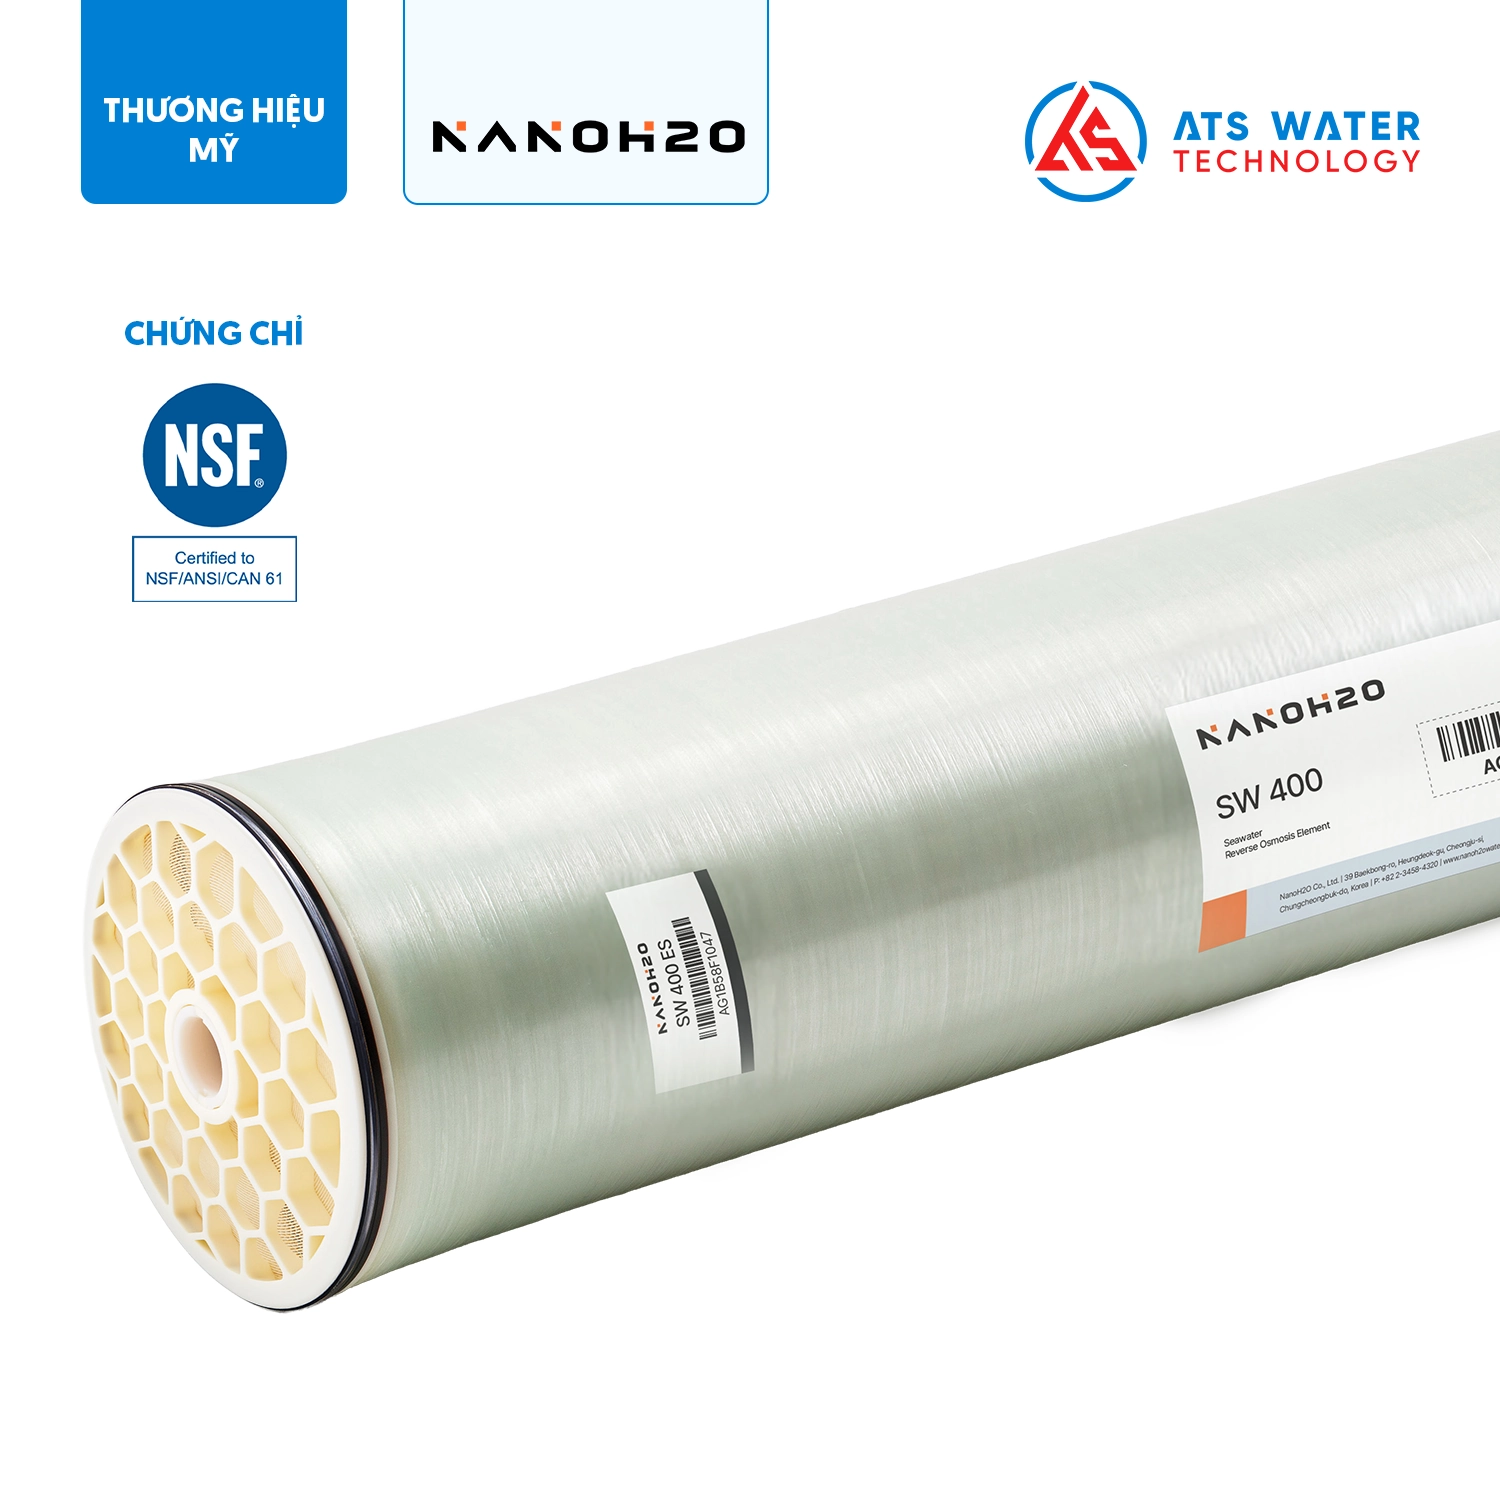
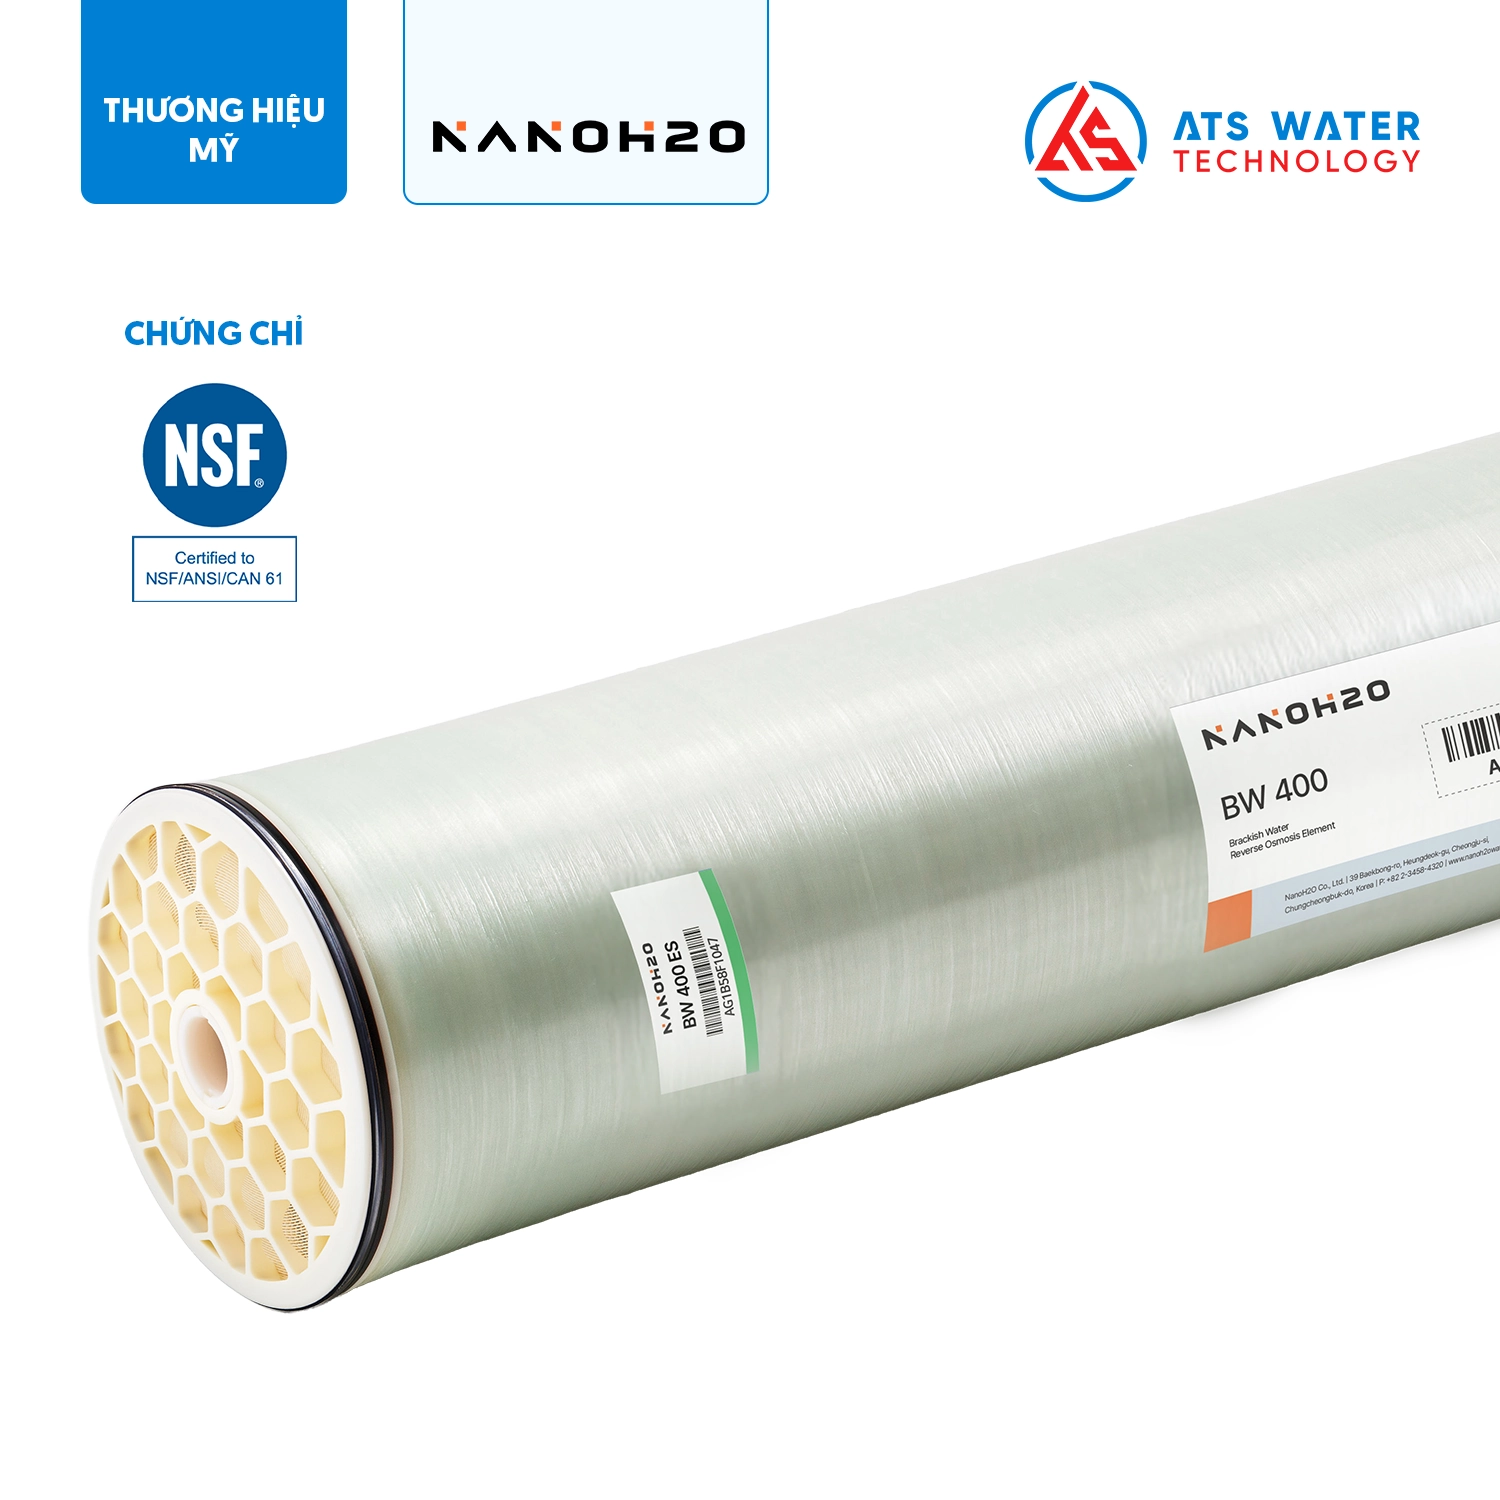
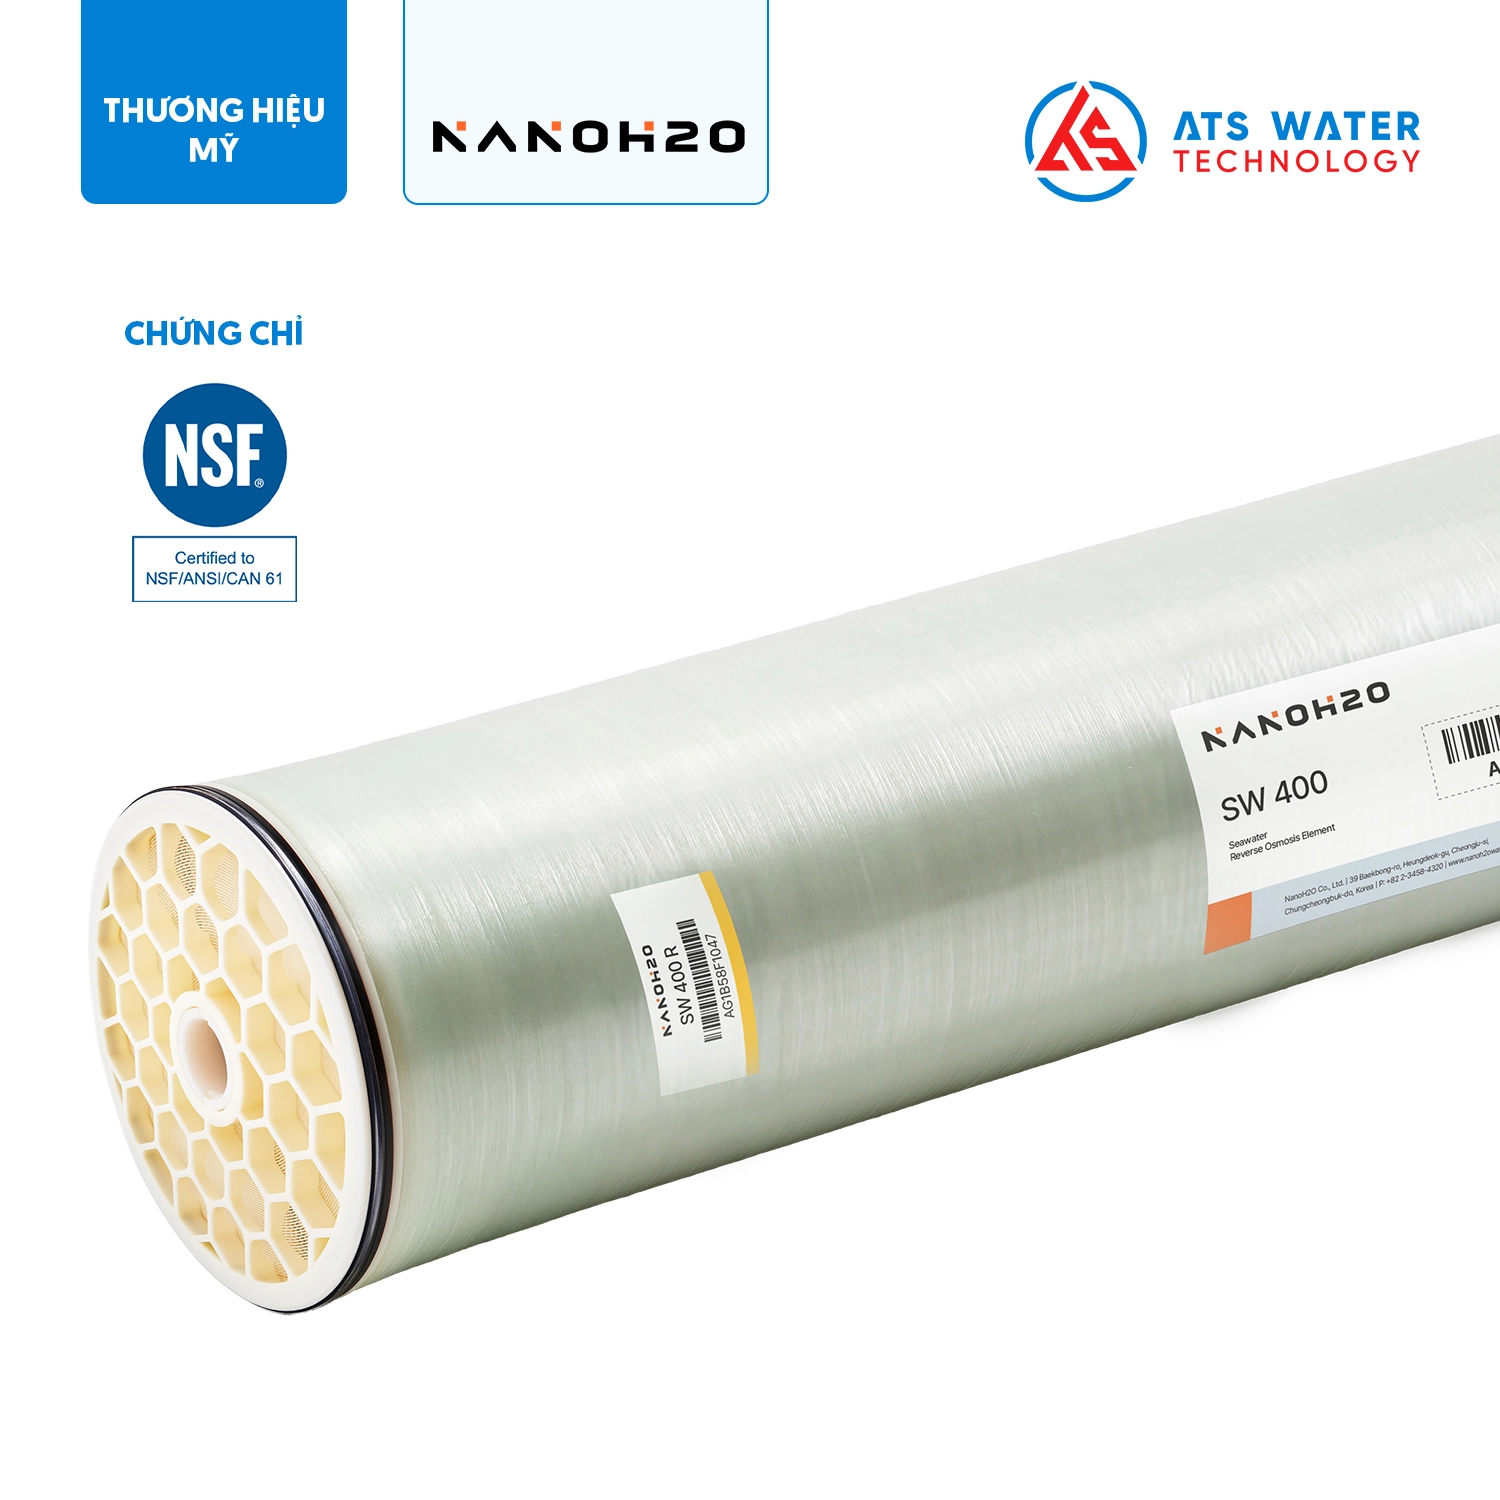
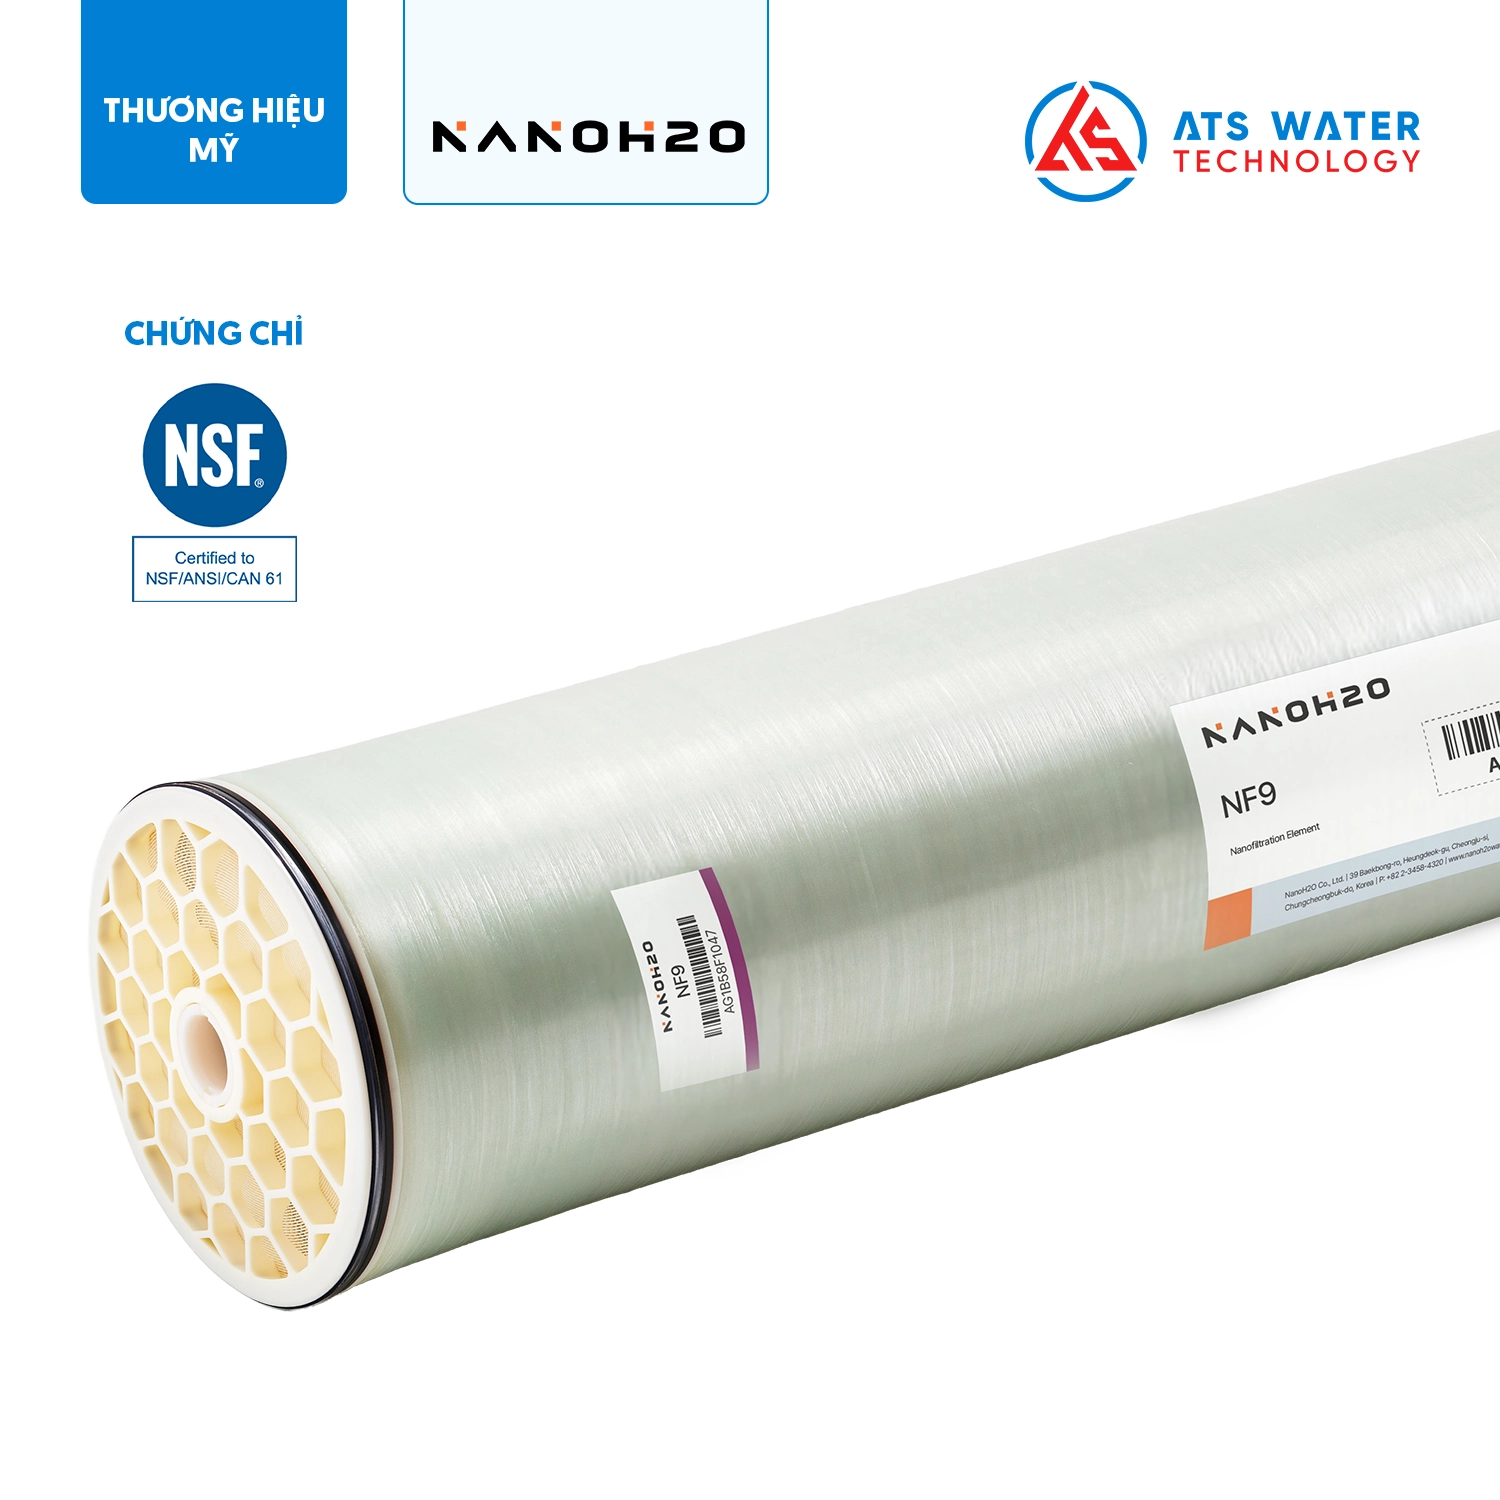
Proper RO membrane installation is essential for ensuring stable system operation, maintaining high performance, and consistently producing high-quality purified water. System issues are not always caused by membrane quality; improper installation or incorrect membrane loading can also lead to operational problems and reduced performance. In this RO membrane installation guide, ATS Water Technology provides step-by-step instructions for installing industrial RO membranes in accordance with the recommendations in NanoH2O TSB 102 – Element Loading Guidelines
1. Preparing for industrial RO membrane installation
Before starting the installation process, it is essential to ensure that the entire system and all related components are fully prepared. This stage helps prevent membrane damage, reduce contamination risks, and facilitate a smooth installation process.
1.1. System inspection and cleaning
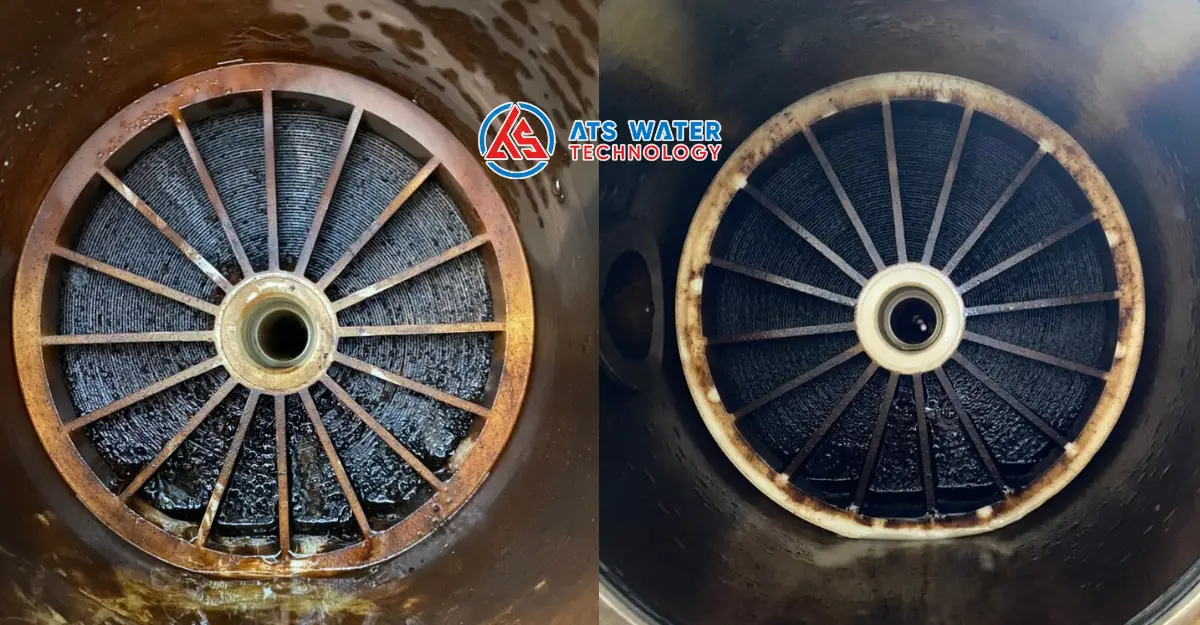
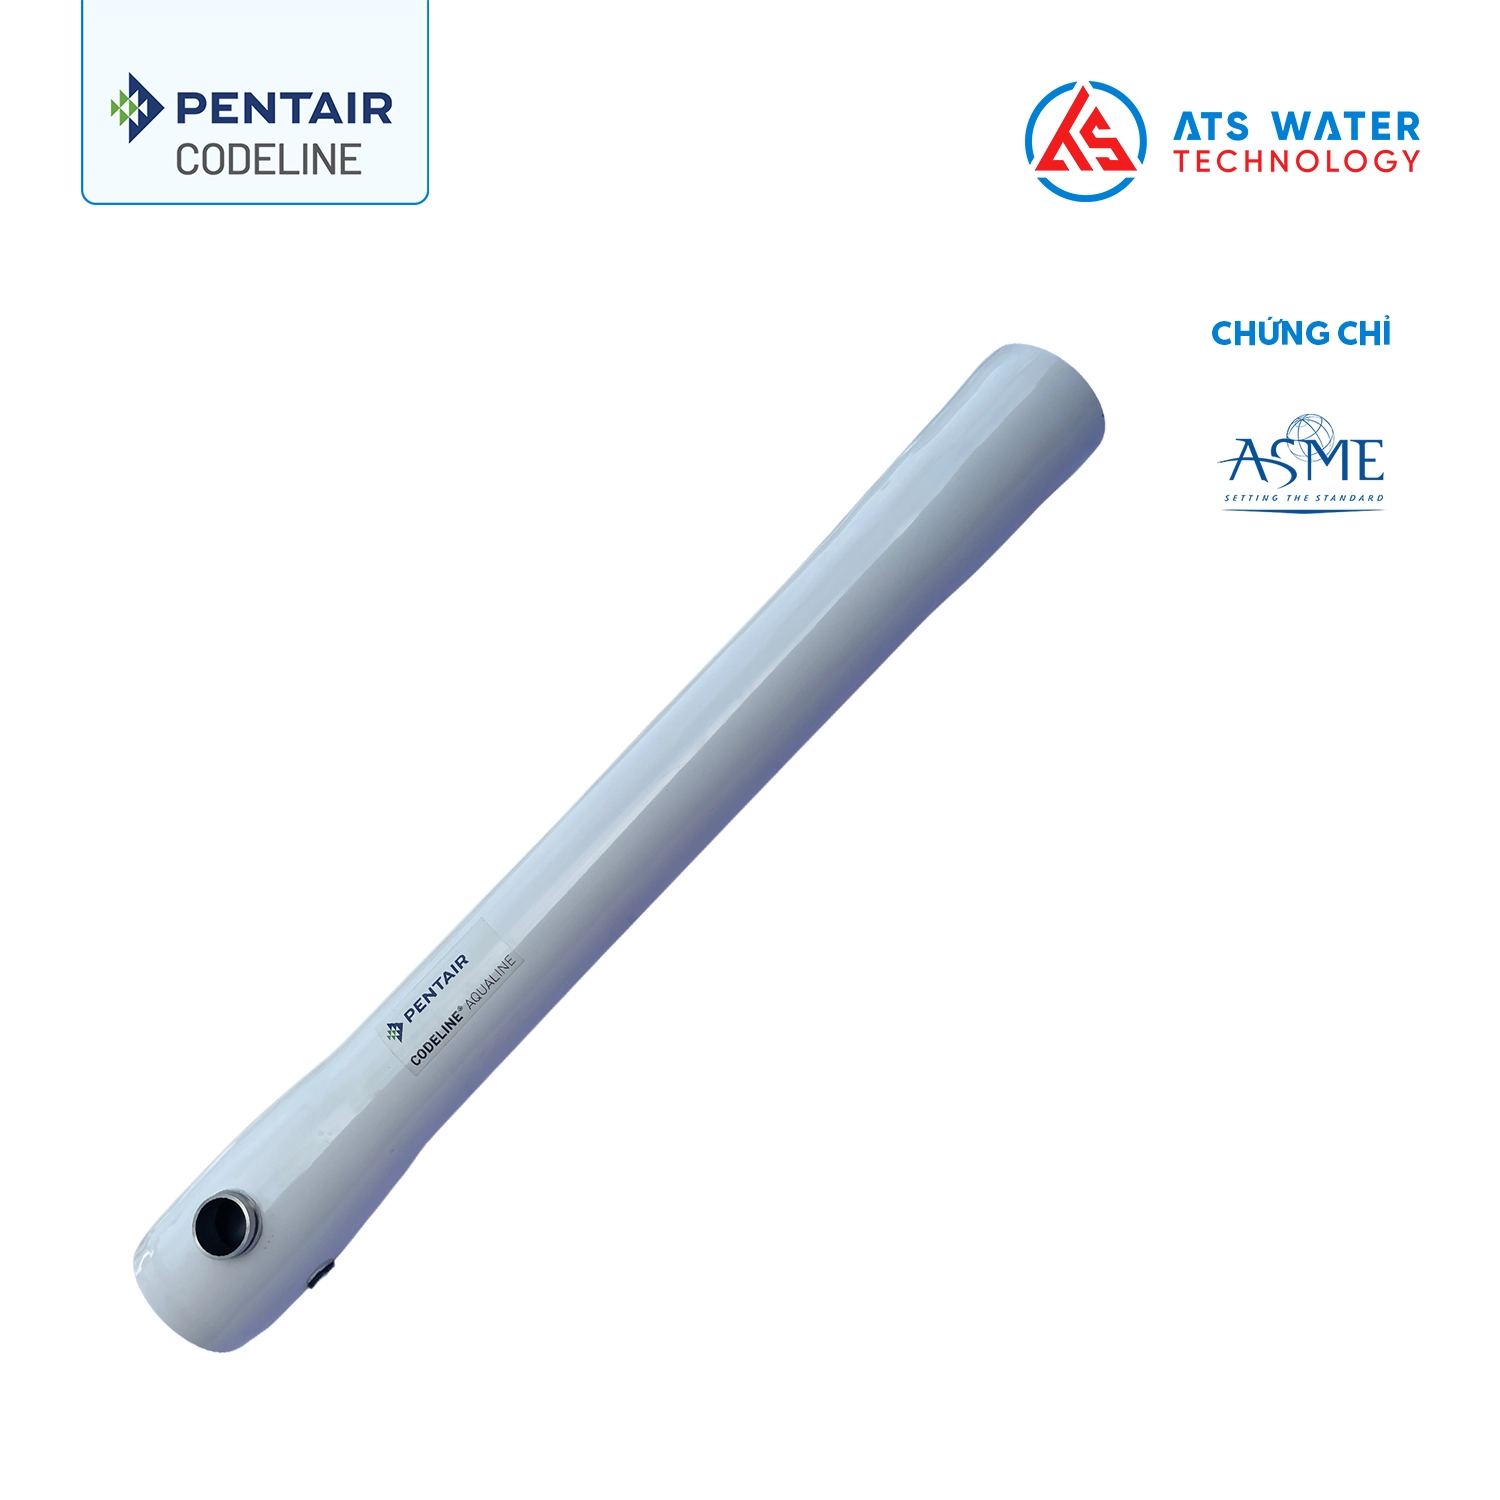
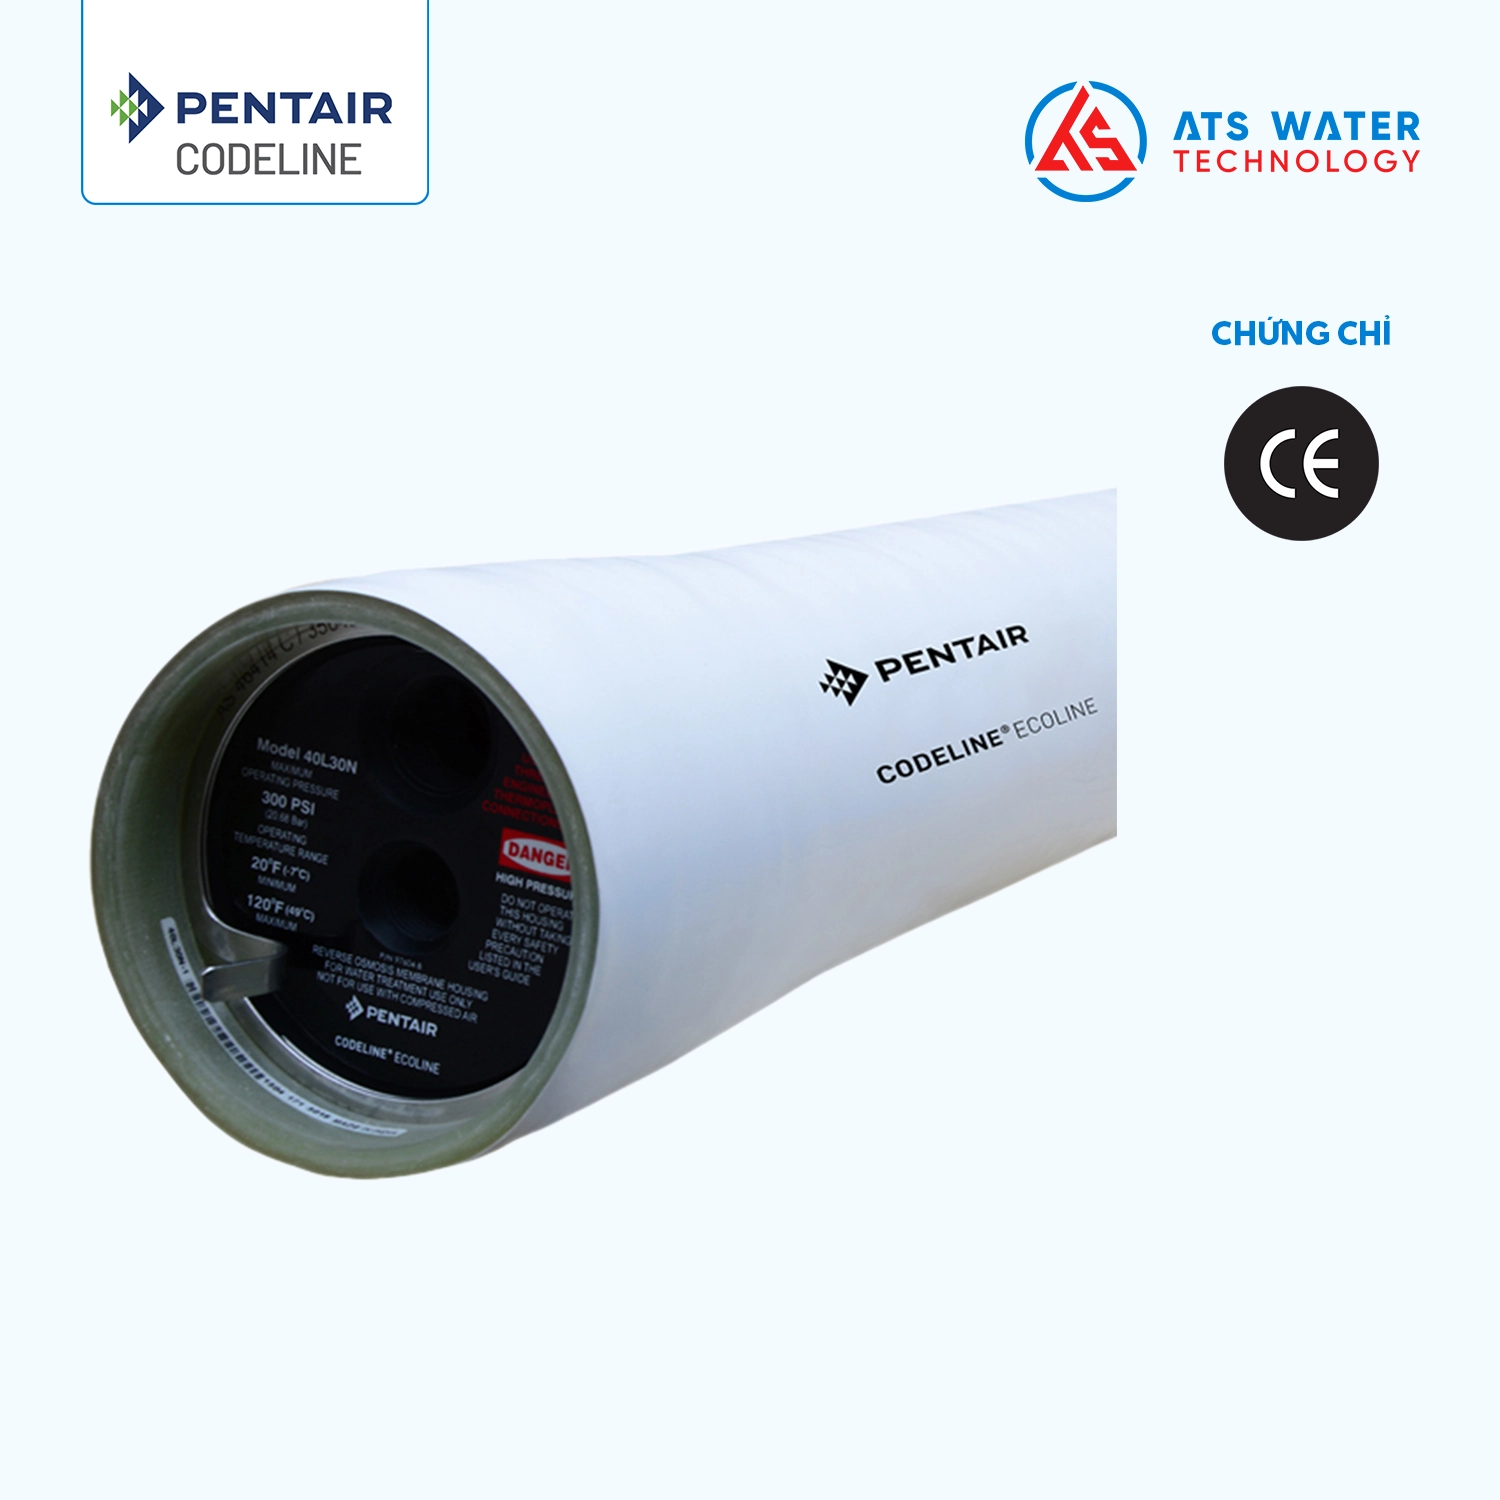
Prior to installing RO membranes, new systems must be thoroughly flushed with pre-treated feed water to remove dust, solvents, chlorine, and any residual substances that may damage the membrane. The pressure vessel must also be completely cleaned—not just rinsed with water.
According to NanoH2O TSB 102 (Technical Service Bulletin), it is recommended to use a fabric-wrapped sponge ball or cloth soaked in a 50% glycerin and dechlorinated water solution, then pull or push it through the vessel to remove all remaining debris without scratching the inner surface.
1.2. Storage of RO membranes before installation
RO membranes must be kept in their original packaging and stored according to NanoH2O TSB 101 – Receipt of Elements, Short-Term Storage, and Disposal of Used Elements. They should be stored in a dry, cool, and well-ventilated environment, away from direct sunlight and high temperatures. Only open the packaging immediately before installation, and record each membrane’s serial number and installation position for future tracking and replacement purposes.
1.3. Preparation of necessary tools and equipment
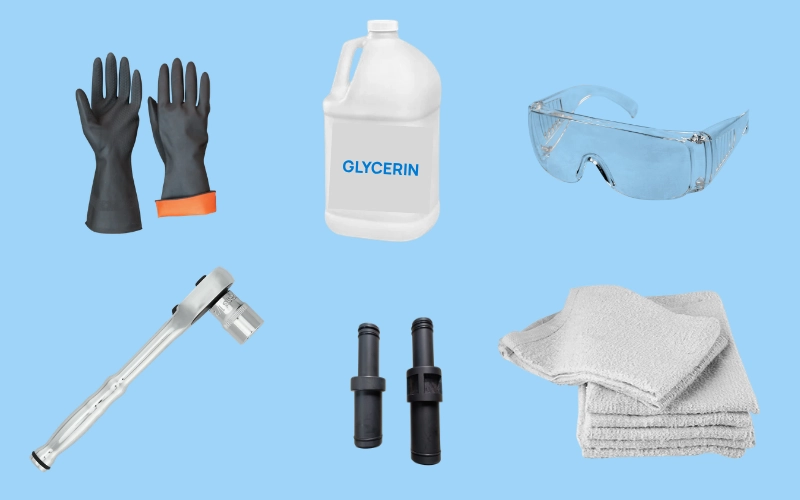
To ensure proper industrial RO membrane installation, it is essential to prepare the following items in advance: safety glasses, gloves, safety shoes, clean cloths, protective plastic sheets, flushing water, pressure vessel opening tools, and spare replacement parts. In particular, the lubricant used must be food-grade glycerin or approved silicone. Do not use petroleum-based grease or mineral oil, as these substances can damage the membrane material.
2. Industrial RO membrane installation procedure
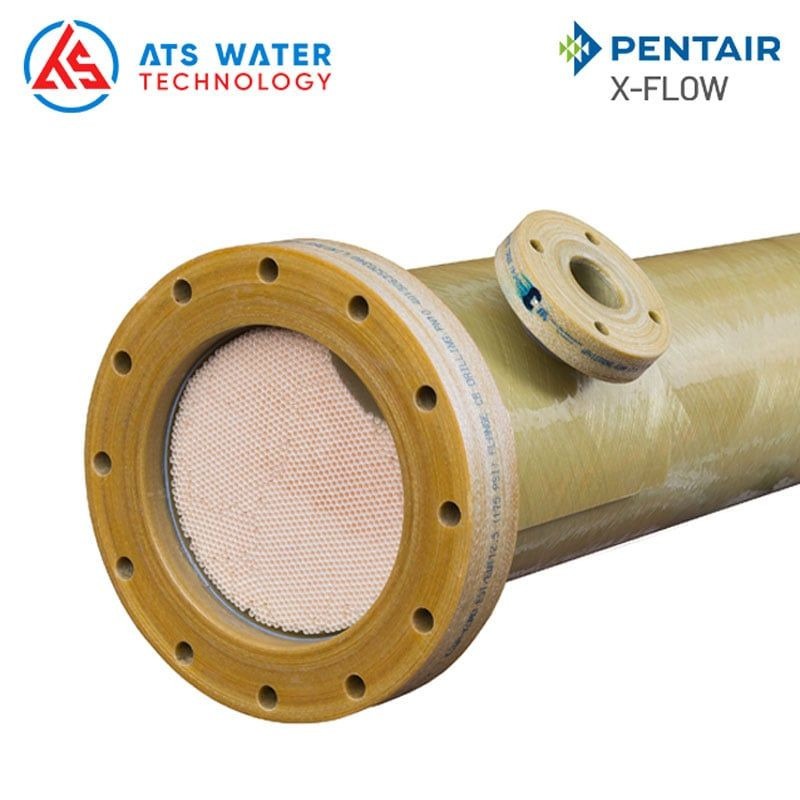
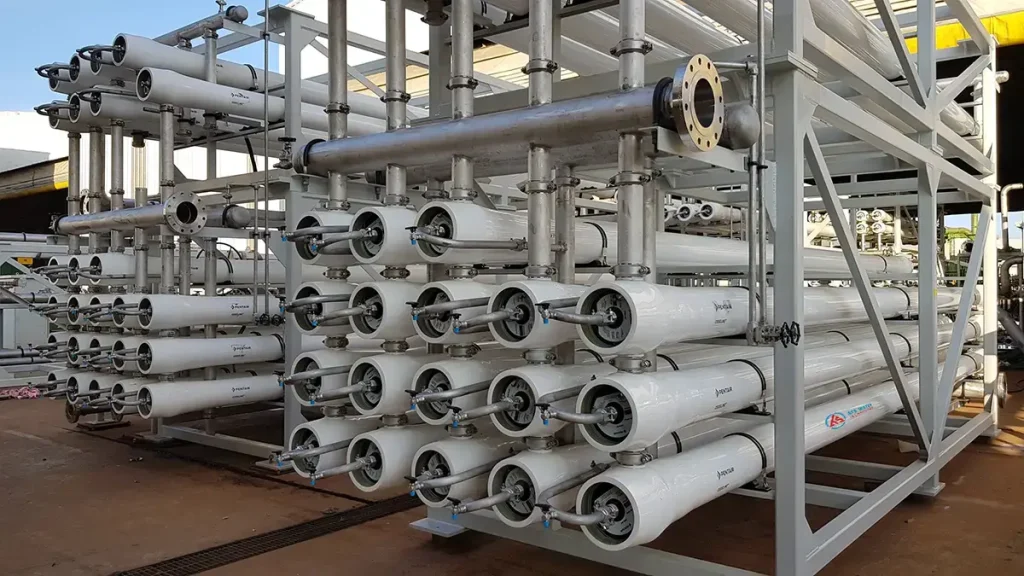
Proper membrane installation requires careful attention to the recommended procedure to prevent mechanical damage, minimize contamination, and ensure optimal membrane performance. The following RO membrane loading procedure provides a step-by-step guide for installing RO membranes in a pressure vessel.
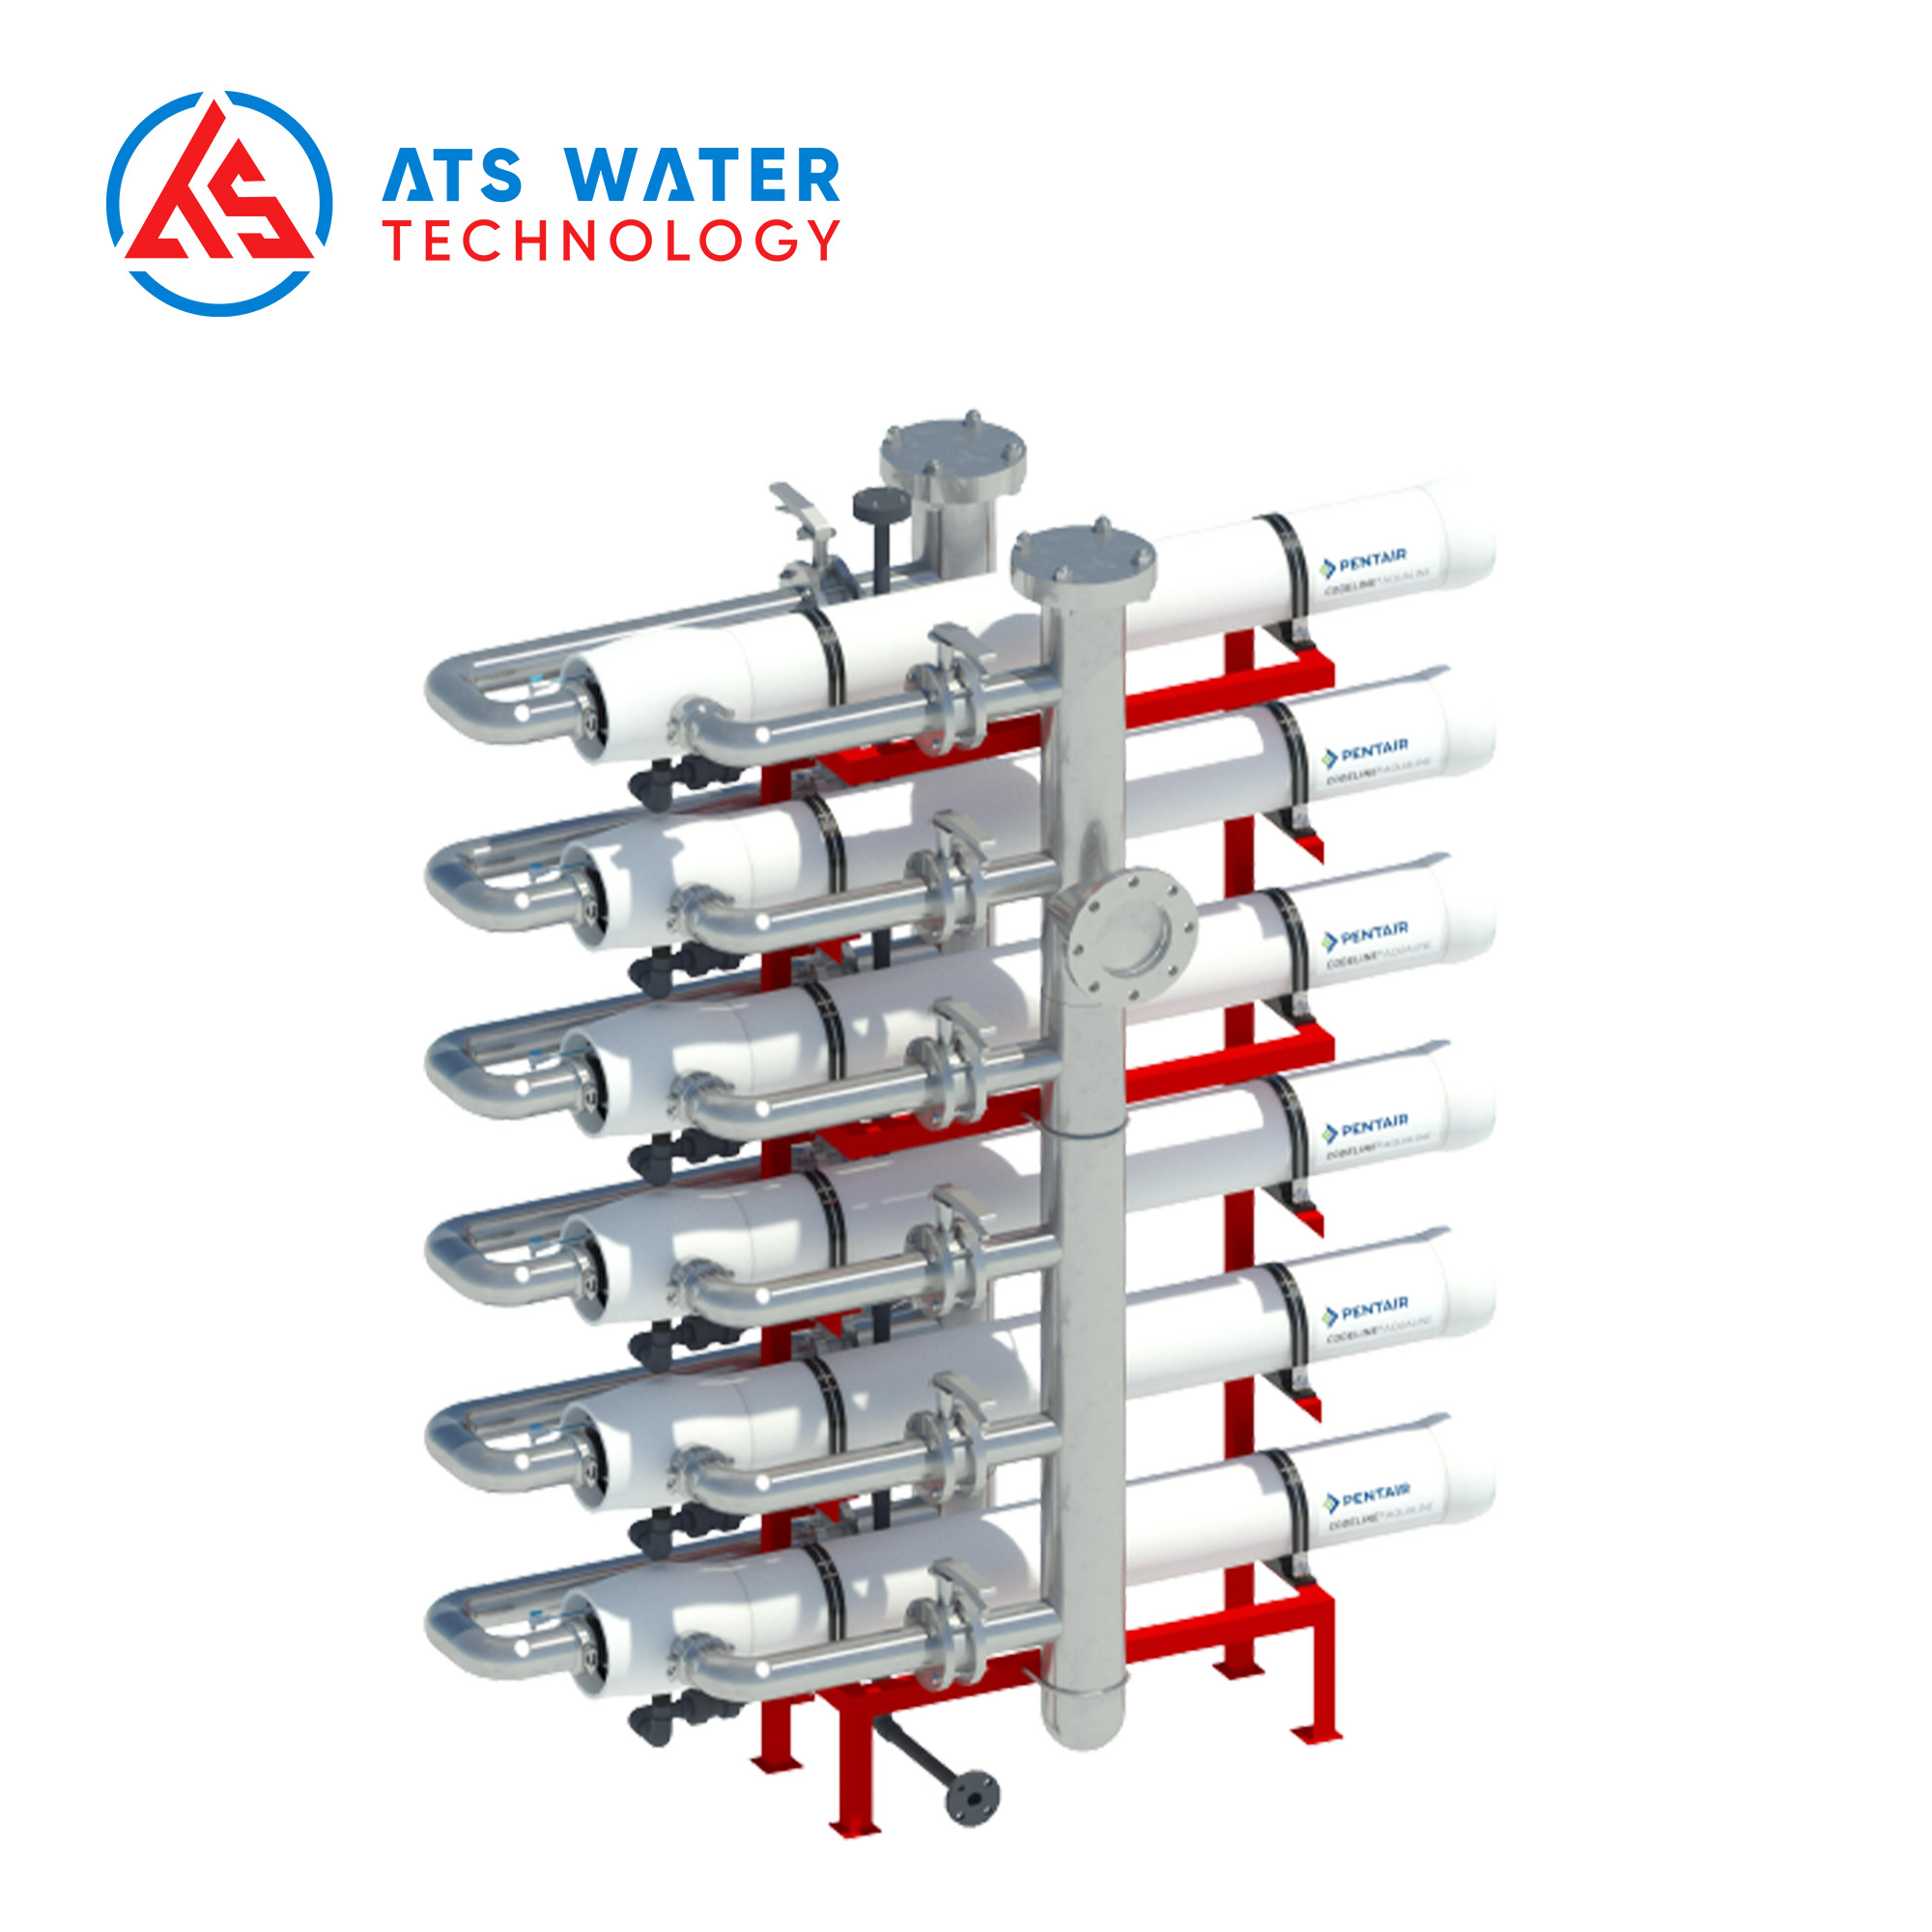
- Step 1 – Prepare and clean the pressure vessel: Before installation, the pressure vessel must be thoroughly cleaned to remove dust, scale, and debris that could adhere to the membrane surface during system startup. Simply rinsing with water is not sufficient. It is recommended to use a fabric-wrapped sponge ball or clean cloth soaked in a 50% glycerin and dechlorinated water solution, and push or pull it through the vessel to completely remove dirt without scratching the inner surface.
- Step 2 – Arrange and record RO membrane information: Arrange the RO membranes in the installation order for each vessel. During this stage, keep the membranes in their original packaging to prevent contamination. Record each element’s serial number and installation position within the vessel, and log this information in an Excel file for service life management and replacement tracking.
- Step 3 – Install the brine-end end cap assembly: Install the end cap assembly at the brine (concentrate) outlet. Ensure that the retaining ring and thrust cone are properly seated according to the manufacturer’s specifications. Identify the location where the interconnector will join the membrane and the end cap assembly—these components are supplied by the pressure vessel manufacturer. Before installation, lubricate all connections with food-grade glycerin or approved silicone grease, and ensure that the brine-end cap is securely installed as per the manufacturer’s instructions.
- Step 4 – Insert the first RO membrane element: Begin RO membrane loading by inserting the first membrane element from the feed end of the pressure vessel. Push the element approximately two-thirds of the way into the vessel. Before inserting, verify that the U-cup seal is correctly positioned on the Anti-Telescoping Device (ATD) at the feed end. Note: Each membrane element uses only one U-cup seal, which must be installed in the correct direction and on one end only (refer to NanoH2O TSB 114 – Brine Seal Replacement).
- Step 5 – Lubricate the brine-end seal: Lubricate the U-cup seal with a 50% glycerin and dechlorinated water solution to reduce friction during insertion. If using silicone lubricant, apply only a very thin layer—excess lubricant may cause fouling and contaminate the membrane surface.
- Step 6 – Connect the center tubes using an interconnector: Connect the RO membranes using interconnectors equipped with O-rings. Ensure that the O-rings are properly lubricated, not torn, and free from deformation. Insert the interconnector into the permeate tube of the first membrane using a gentle twisting motion. Do not use a hammer or apply excessive force, as this could crack or deform the interconnector or the center tube.
- Step 7 – Insert the next membrane and align ATDs: While one technician holds the first membrane in place, carefully slide the next membrane onto the interconnector of the first. Ensure that the ATDs of both membranes are fully aligned and that the interconnector is completely engaged between the two elements.
- Step 8 – Insert the membrane assembly into the pressure vessel: Slowly push the entire connected membrane assembly into the vessel, leaving approximately one-third of the next element protruding from the feed end. Exercise caution and avoid pushing too quickly, as this may damage the ATDs. The interconnector must never be used to support the membrane’s weight.
- Step 9 – Install the remaining membrane elements: Repeat the interconnector installation and membrane insertion process until the designed number of membrane elements has been loaded into the pressure vessel. The final membrane element, located at the feed end, should be installed last and will typically remain approximately one-third outside the vessel before final alignment.
- Step 10 – Align the membrane assembly and install shims (If needed): After inserting all membranes, push the assembly toward the permeate end so the first element sits tightly against the end cap. If there is a gap between the interconnector and the feed-end end cap, install shims to secure the assembly and prevent shifting during startup or shutdown, which could cause O-ring leakage.
- Step 11 – Install the feed-end end cap and complete assembly: Install the feed-end end cap assembly and reconnect all associated piping and fittings as instructed by the manufacturer. Once installation is complete, perform a leak test and system trial run following the standard operation procedures.
3. Important notes for industrial RO membrane installation
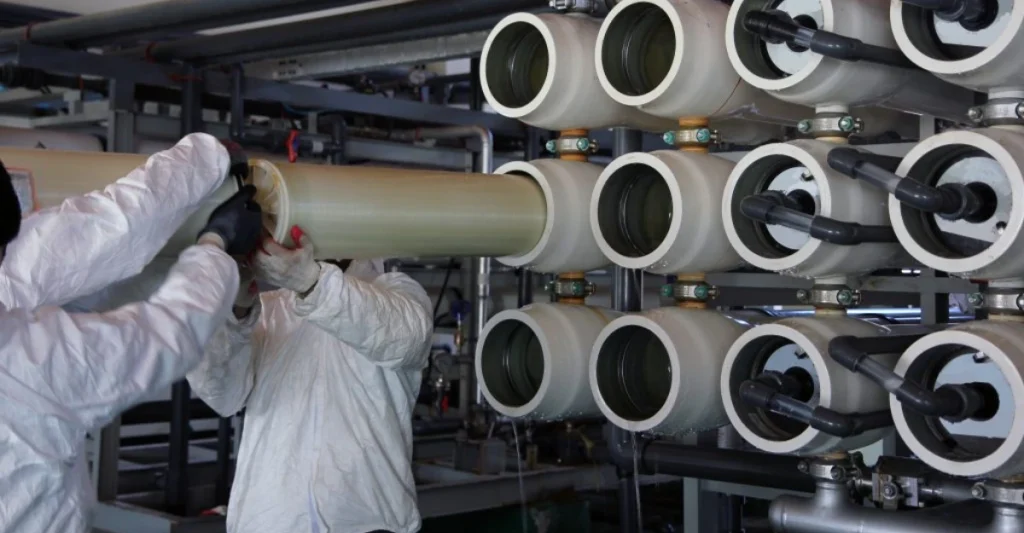
During the installation of industrial RO membranes, even a small mistake can lead to serious operational issues such as water leakage, damaged seals, or membrane failure. Therefore, in addition to following the installation steps, it is essential to pay special attention to the following key precautions:
- Never use petroleum-based grease or Vaseline — only use food-grade glycerin or approved silicone lubricant.
- The U-cup seal must be installed on one end only, in the correct orientation — never on both ends.
- Do not use excessive force or hammers when installing interconnectors, as this may damage the center tube or Anti-Telescoping Device (ATD).
- Maintain absolute cleanliness throughout the installation process. Protect all components that contact permeate water to prevent microbial contamination.
- Accurately record the serial number and position of each membrane inside the pressure vessel for convenient tracking and future replacement.
4. Frequently asked questions (FAQs) about industrial RO membrane installation
What tools are required for installing industrial RO membranes?
Prepare safety glasses, gloves, safety shoes, clean cloths, plastic sheets, purified rinse water, approved lubricants (glycerin or silicone), pressure vessel tools, and shims for securing the membrane assembly.
What are the main steps in the industrial RO membrane loading procedure?
The process includes cleaning the pressure vessel, arranging and recording membrane information, installing the brine-end cap and seals, inserting and connecting membrane elements, aligning and securing the assembly, and finally installing the feed-end cap and completing the system.
What should be noted when installing industrial RO membranes ?
Do not use petroleum-based grease on seals or O-rings—only glycerin or approved silicone. Ensure there is only one U-cup seal per membrane element, handle connectors gently, and prevent contaminants from entering the permeate line.
Proper RO membrane installation is critical to ensuring system stability, achieving high-purity water output, and maximizing membrane lifespan. Even minor installation errors can cause membrane damage or reduce system performance. For further guidance on how to install an RO membrane, please contact ATS Water Technology Co., Ltd for professional support.
ATS WATER TECHNOLOGY CO., LTD
- Head office: 54/18 Bui Quang La, An Hoi Tay Ward, HCMC, Vietnam
- Branch office: 77 DHT10B, Dong Hung Thuan Ward, HCMC, Vietnam
- Consultation and support: (028) 6258 5368 – (028) 6291 9568
- Email: info@atswatertechnology.com
- Social media: Facebook | LinkedIn | YouTube
- Quick contact: Zalo Official | Telegram | WhatsApp